
Here are photos from the world's first DroidCon. It took place the weekend before last, from Friday, May 13, 2011, to Sunday, May 15, 2011, at the Hilton Garden Inn near the Indianapolis airport. Donna and I attended (at least, I attended DroidCon, and she explored the Indianapolis art world during the day).

Cory Pacione gives a weathering demonstration.

 The last time I saw John Flack's R6, at CV in Orlando, it was a very well made wooden frame with legs. His effort was apparent. Nine months later, on the first day of DroidCon, he had just gotten it to walk and had given it a voice with a VMusic/Arduino setup. John followed group plans for the frame but cut everything by hand, not by CNC machine.
 Ben Lewitt uses his R2 to demonstrate the JEDI control system, which was largely the project of Scott Gray (at table)
 Chris Simonds borrowed Chris James' wording for his charging bay. Simonds used a piece of black acrylic in the bay itself and has a set of LEDs wired to blink when the batteries charge. (The bay isn't cosmetic; that's a cigarette lighter receptacle in Chris' R2. He's hooked up a DC connector, wires and a charger to make his charging circuit.)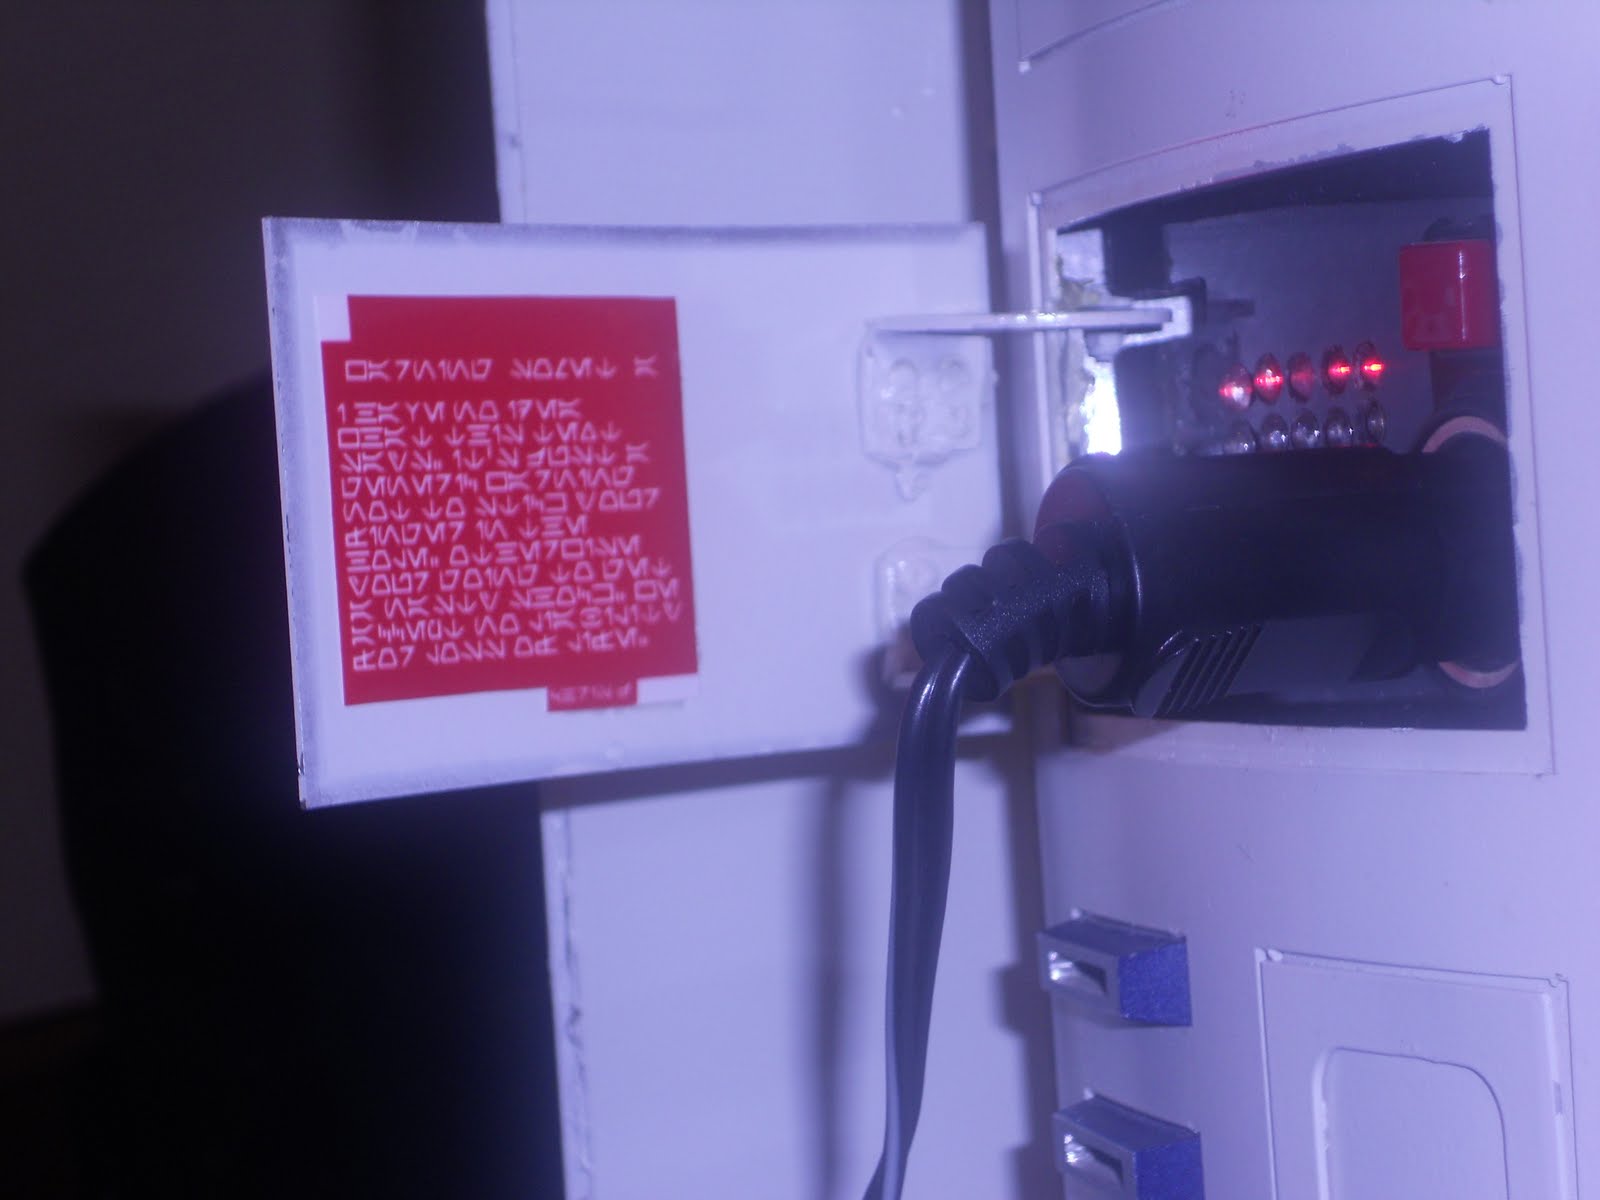

I had some questions about how to mount skin snaps on my droid, so I went to the source -- Daren Murrer, who invented the things and attended DroidCon. Above are the front skins on his blue R2. The skin snaps are the black devices to the left.

 Scott Gray works on JEDI system code.
Observing ... someone's shoulder mounts. And that looks like an A&A frame, just like mine. But I don't remember whose droid this is.


One of the DroidCon highlights was seeing and hearing a PowerPoint argument for R2's restraining bolt being a found item in the form of a lens adaptor common in the 1970s. This is one on Daren's R2.

Original R2 plans.
 Daren holds a set of skins for his R2.
 Royalty. She drew a crowd.
 An R2 unit in prime condition.
 Brian's (Bryan's?) green R2. Of course, I'm looking here at the Robart hinges he used to mount the pie plates.
 Bob Ross and George ? with Bob's R2 in the foreground and my much-unfinished R2 on the table in pieces in the background. Bob gave a great presentation about his modular approach to building an R2.
I found out at the end of the convention, when I was packing up my parts, that my droid was the "mystery droid" of the convention. People were looking over the scratch-built wooden legs and foot drives and so forth and wondering whose they were, apparently. But I was off looking at other people's droids and I hadn't brought my CV builder standee!
 One valuable lesson I learned at DroidCon was that I mucked up my rear PSI area. Cole Horton, one of the people who with Daren Murrer makes the styrene domes, said during a presentation about domes that the rear PSI light's surround actually is the inner dome. This makes it unlike any other panel I'm aware of on R2. But a few weekends ago, I cut a square hole around the light with the idea that the hole would be covered by the panel. So ... I'm thinking I might be able to tape the inside of the dome and use Evercoat to fill in the gaps. I don't know whether that will work, but it's going to bug me until I fix it.
Hey, if I got nothing else out of DroidCon, that tidbit was worth it. Above is Brian's (Bryan's?) rear PSI, finished correctly.

And looking over the leg mounting.

That's Brian/Bryan in the center and John in the rear, trying out a fresh 9-volt battery for the green R2. The old one was too drained to let the motor system work. The new one worked, and soon the droid was zipping around the room.

At this point in Cole and Daren's "Everything Dome" presentation, Cole described some concerns people in the group had about their attempt to make a styrene, rather than aluminum, dome. Will it be strong enough, Cole said as he put the dome on the floor and stood on it, to hold up a radar eye????
Visual aids often beat pure verbal expressions.
 I think this is Chris Lee's A&A frame, which was for sale. Chris also had some business cards out for his Full Scale Falcon project.
 Another DroidCon gem: Cole and Daren brought some "real" holoprojectors, overhead reading lights used in the Vickers Viscount 700 series and BAE 748 airplane. The real thing is difficult to get now. Mine are resin, and I happy with them. But it was great holding the original prop pieces, turning them over and just seeing them in front of me. Chris Simonds holds them so I can get some photos.

Bob's R2's foot hoses. I was told they came preweathered from Mike Velchek.
 Preparing for a group photo. The Jawa, next to royalty, is holding one of my wooden legs.
 My personal mascot. Donna gave me this stuffed Yoda just before I went to CV last year, and I made sure I brought him to DroidCon.