Saturday, December 24, 2011

Logic Displays

Me holding an FLD while a test sketch is running (Monday, Dec. 19, 2011)

Today is the seventh anniversary of my joining the R2 Builders Group.

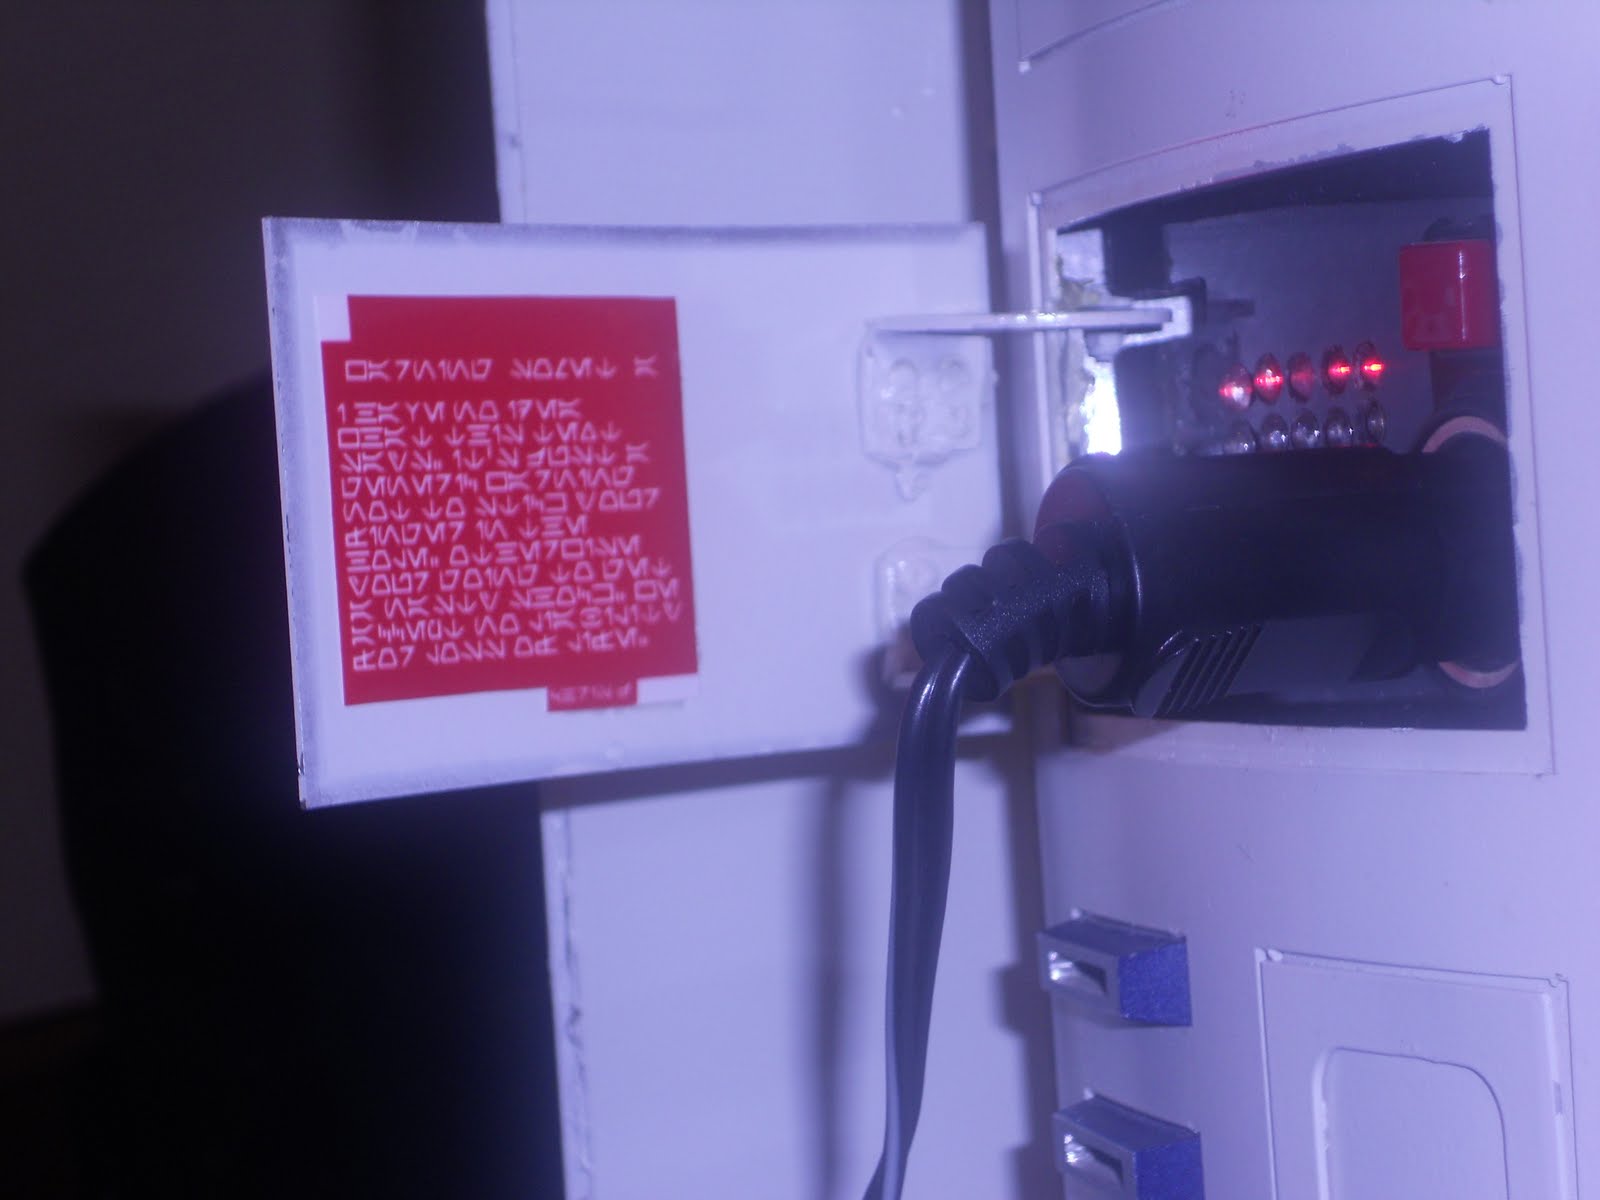
I worked on Teeces Version 2 Arduino-based front and rear logic display system this week and was rewarded with blinking lights, just as the design promised.

I pulled the patterns below from the astromech.net site. They look OK, but I'm thinking about replacing some of the FLDs' white lights with blue. The display didn't seem blue enough when it blinked.


The Teeces design makes use of the Arduino microcontroller. I like his approach for several reasons.
  1. It works. Seriously. It's too easy to follow tangents off the edge of a cliff in droid building. My main goal is to have a passable R2-D2 replica with blinking lights, sound and radio-controlled motion ready for Celebration VI. This FLD/RLD design fits the lights part of the goal.
  2. It allows for individual LEDs to be selected (it was set up so scrolling text could be put on the logic displays. One of my objectives is to make R2 upgradable. So ... blinkly random lights now, scrolling text and other effects later.
  3. It uses Arduino. This microcontroller is fascinating to me as an example not only of open-source technology but of small-scale physical computing. It was created by a university group as a cheap way to program interactive projects and has been adopted and adapted by artists, hobbyists and others over the years. Free code written by users is available in the Arduino Playground (such as the LED control library the Teeces design uses), courtesy the open-source approach.
Progress made this week: Soldered all three boards (two FLDs, one RLD) except for LEDs, ran successful test on first FLD.

Saturday, September 24, 2011

Skins work


On Thursday, my dad was away, so I worked on the aluminum skins alone.
These skins have been sitting in my basement for nearly a year. They were a Christmas present and, like so many other builders, I had been delaying any work with them until I was certain of what I was doing.

There are several things that need to be done:

  • Mark the skins and the panels so I don't lose track of what goes where.
  • Separate the panels from the skins.
  • Since the panels are attached with tabs, the leftover tabs need to be filed away.
  • The panels and skins need some sanding and cleaning in preparation for painting.
  • The panels and skins need to be primed and painted.
  • I'm using skins snaps from Darren Murrer, so the snaps need to be attached to the inner skin sections and to the frame.
  • Attach the inner skins to the outer skins. I plan to use VHB tape.

I'm basically copying Chris James, Paul and RedUFO in handling these skins. Chris either came up with or was the first to popularize the technique of using a chisel to break out the panels rather than risk using a hacksaw.
I had about three hours before work Thursday and took my time: My goal wasn't to finish a certain portion but rather to work at exactly the speed I needed to be confident of quality work. I finished the cutouts, filing and some basic sanding on the inner front skin and the cutouts and filing on the outer skin. I still need to file the outer skin panels, sand everything, clean, prime and paint.
Here are photos of my progress. They'll be put into order and captioned (or "cutlined," as I would say in the newsroom) once I get back from the Cranberry Festival and the "Phantom of the Opera" screening today:


Feet


I drove down to my dad's workshop a couple of times before work this week and made still more progress. On Wednesday, we took a look at the foot shells. The foot drives seem to work, but the motor mounts are lower and farther back than the hemisphere in the center of the outer foot. Now, the motors project from the motor mounts, and we want to use the hemisphere cutout to conceal the motor. Because of the position, however, we're going to set the hemisphere back in the foot shell and make the foot shell a bit higher than is "correct."
This difference will be obvious to anyone who has studied the structure of R2 well enough to try to build him, but it probably won't be obvious to anyone else. In either case, and in the spirit of George Lucas' endless backstories, here's the rationale: This R2 unit has foot shells and foot drives that indeed deviate from the norm. R2 is a modular droid, after all, and these particular modules would have been changed at some point.
Ha! Take that, pedants!

Sunday, September 18, 2011

Standing!

R2 stands. My father and I set up an axle through the satellite motors and legs, attached the foot drives to the ankles with screws and the ankles to the legs with axles ... and had R2 standing by the end of the day.

No pictures yet, since I forgot to bring my camera. My father took some shots, so I'll probably have something posted before too long.

Wednesday, Sept. 21, update:

Wednesday, July 27, 2011

Regrouping

I haven't done much work lately on the droid itself because of career-related work, including an amazing monthlong multimedia editing fellowship in beautiful Reno, Nev. My efforts toward the droid instead have been along the lines of planning and buying.

Several new spray paint cans are sitting in a corner of the living room. They'll be used to test aluminum paint schemes to replace the one I have, which I don't like. Most of the components for Teece's Arduino-based front and rear logic displays have arrived, with a few parts on the way from Hong Kong. Dome drive components also have been arriving in the past few weeks.

Next steps include adding some depth to the wooden outer legs, creating shoulder hubs and assembling the FLDs and RLD. R2-D2 still needs to stand, so the feet are high on the list as well.

Friday, June 3, 2011

Celebration VI announced

Celebration VI was announced yesterday. The big "Star Wars" convention will take place in Orlando again, from Aug. 23 to 25, 2012.

That gives people more than a year to plan. I don't know for certain whether I'll be able to go, given vacation scheduling, budgeting and whatnot, but I've booked a tentative room and hope everything will work out.

The timing also gives me a year to finish my droid, or at least to reach a point that passes for finished in this group. That means feet, a finished dome, greeblies and all the outer features that give this creature of wood, styrene, metal and glue the appearance of being R2-D2. I don't know of any builder who thinks of such a droid as being completely done. There always will be internal foot motors and lights and servos and radio control units to add, and now 3-2-3 mechanisms, periscope lifters and perhaps even XBee modules.

Monday, May 23, 2011

DroidCon photos


Here are photos from the world's first DroidCon. It took place the weekend before last, from Friday, May 13, 2011, to Sunday, May 15, 2011, at the Hilton Garden Inn near the Indianapolis airport. Donna and I attended (at least, I attended DroidCon, and she explored the Indianapolis art world during the day).


Cory Pacione gives a weathering demonstration.


The last time I saw John Flack's R6, at CV in Orlando, it was a very well made wooden frame with legs. His effort was apparent. Nine months later, on the first day of DroidCon, he had just gotten it to walk and had given it a voice with a VMusic/Arduino setup. John followed group plans for the frame but cut everything by hand, not by CNC machine.


Ben Lewitt uses his R2 to demonstrate the JEDI control system, which was largely the project of Scott Gray (at table)


Chris Simonds borrowed Chris James' wording for his charging bay. Simonds used a piece of black acrylic in the bay itself and has a set of LEDs wired to blink when the batteries charge. (The bay isn't cosmetic; that's a cigarette lighter receptacle in Chris' R2. He's hooked up a DC connector, wires and a charger to make his charging circuit.)


I had some questions about how to mount skin snaps on my droid, so I went to the source -- Daren Murrer, who invented the things and attended DroidCon. Above are the front skins on his blue R2. The skin snaps are the black devices to the left.


Scott Gray works on JEDI system code.


Observing ... someone's shoulder mounts. And that looks like an A&A frame, just like mine. But I don't remember whose droid this is.


One of the DroidCon highlights was seeing and hearing a PowerPoint argument for R2's restraining bolt being a found item in the form of a lens adaptor common in the 1970s. This is one on Daren's R2.


Original R2 plans.

Daren holds a set of skins for his R2.


Royalty. She drew a crowd.


An R2 unit in prime condition.


Brian's (Bryan's?) green R2. Of course, I'm looking here at the Robart hinges he used to mount the pie plates.


Bob Ross and George ? with Bob's R2 in the foreground and my much-unfinished R2 on the table in pieces in the background. Bob gave a great presentation about his modular approach to building an R2.

I found out at the end of the convention, when I was packing up my parts, that my droid was the "mystery droid" of the convention. People were looking over the scratch-built wooden legs and foot drives and so forth and wondering whose they were, apparently. But I was off looking at other people's droids and I hadn't brought my CV builder standee!


One valuable lesson I learned at DroidCon was that I mucked up my rear PSI area. Cole Horton, one of the people who with Daren Murrer makes the styrene domes, said during a presentation about domes that the rear PSI light's surround actually is the inner dome. This makes it unlike any other panel I'm aware of on R2. But a few weekends ago, I cut a square hole around the light with the idea that the hole would be covered by the panel. So ... I'm thinking I might be able to tape the inside of the dome and use Evercoat to fill in the gaps. I don't know whether that will work, but it's going to bug me until I fix it.

Hey, if I got nothing else out of DroidCon, that tidbit was worth it. Above is Brian's (Bryan's?) rear PSI, finished correctly.


And looking over the leg mounting.


That's Brian/Bryan in the center and John in the rear, trying out a fresh 9-volt battery for the green R2. The old one was too drained to let the motor system work. The new one worked, and soon the droid was zipping around the room.


At this point in Cole and Daren's "Everything Dome" presentation, Cole described some concerns people in the group had about their attempt to make a styrene, rather than aluminum, dome. Will it be strong enough, Cole said as he put the dome on the floor and stood on it, to hold up a radar eye????

Visual aids often beat pure verbal expressions.


I think this is Chris Lee's A&A frame, which was for sale. Chris also had some business cards out for his Full Scale Falcon project.


Another DroidCon gem: Cole and Daren brought some "real" holoprojectors, overhead reading lights used in the Vickers Viscount 700 series and BAE 748 airplane. The real thing is difficult to get now. Mine are resin, and I happy with them. But it was great holding the original prop pieces, turning them over and just seeing them in front of me. Chris Simonds holds them so I can get some photos.


Bob's R2's foot hoses. I was told they came preweathered from Mike Velchek.


Preparing for a group photo. The Jawa, next to royalty, is holding one of my wooden legs.


My personal mascot. Donna gave me this stuffed Yoda just before I went to CV last year, and I made sure I brought him to DroidCon.